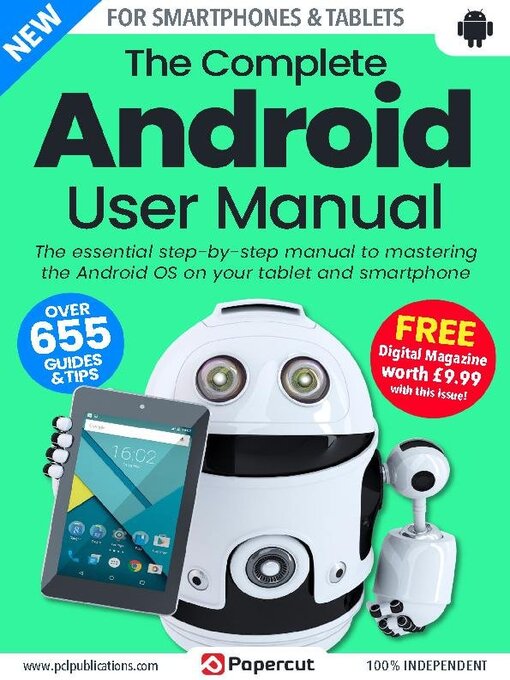
The essential step-by-step manual to mastering the Android OS on your tablet and smartphone
The Complete Android User Manual
GETTING STARTED WITH ANDROID • Using our step-by-step guides, learn how to get started with your Android device, including sending emails, customising the Home screen and choosing widgets. Find out the best way to set up your device and the easiest way to get online. Discover how to customise the device and how to share images with friends.
Android Controls and Connections • Although the exact buttons and connection ports on your Android smartphone may vary, there are standard features that almost always appear. Let’s take a look at those buttons, connections and controls and see what they can and cannot do.
Tablet Controls • Just as with the smartphone controls detailed on the previous pages, most Android tablet controls and connections follow a fairly standard layout plan. The exact position of the buttons may vary slightly between devices.
Touch Screen Controls • Modern Android devices no longer rely on physical pressure to register a touch, instead relying on tiny electrical charges in our fingers.
Add and Use a MicroSD Card • Most Phones and many Android tablets offer the ability to expand the storage by inserting a MicroSD memory card. On modern devices, the capacity can be as much as 128GB, although this may vary and you should check before you buy an SD card. Inserting the card is relatively simple, although it might not be obvious to someone doing it for the first time.
Adding and Syncing Accounts • When you set up your Android phone or tablet, you will be asked to link it to a Google account. If you don’t already use one of the Google products such as Gmail, Picasa or YouTube (if you use any of these, you already have a Google account), or if you want to create a new account to use with a new tablet for instance, you can create one on your device during the setup. It is easier, however, to set up an account on your computer.
Connecting to Wi-Fi Networks • Connecting your Android device to the Internet is certainly going to be one of the first things you will want to do. You have a couple of options for connecting to the Internet on Android. If you have access to a Wi-Fi network at home, in work or elsewhere, this is the best option in terms of speed and reliability. By following these steps, setting up your Wi-Fi connection should be relatively pain-free.
Your Mobile Data Connection • If you are away from an available Wi-Fi network, connecting to the Internet usually means using your 3G or 4G mobile data connection but with unlimited data packages nowhere near as common as they once were, it makes sense to ensure that you understand how mobile data works and how to keep track of your mobile data usage. This can be done fairly easily using monitoring tools built in to many Android phones and tablets.
Turn Your Device into a Mobile Hotspot • You can share your mobile Internet connection with nearby devices, including tablets and laptops, by turning your phone into a mobile hotspot. As long as the device has a SIM card and can connect to the mobile network, you can use it as a hub. You can do this with up to ten different devices at a time, depending on the quality of connection and model you are using, although this may put a strain on your data usage.
Making and Receiving Calls • While your Android phone is an incredibly powerful device with lots of bells and whistles, let’s not forget that its main function is as a phone to make and receive phone calls. Making a call on your Android phone might seem like the most simple of things but there are actually several ways to initiate a call, as well as control who calls you. Plus there are a few settings you can change to make this simple phone function even simpler.
Sending SMS Messages...
 Issue 7
 Issue 6
 Issue 5
 Issue 4
 Issue 3
 Issue 2